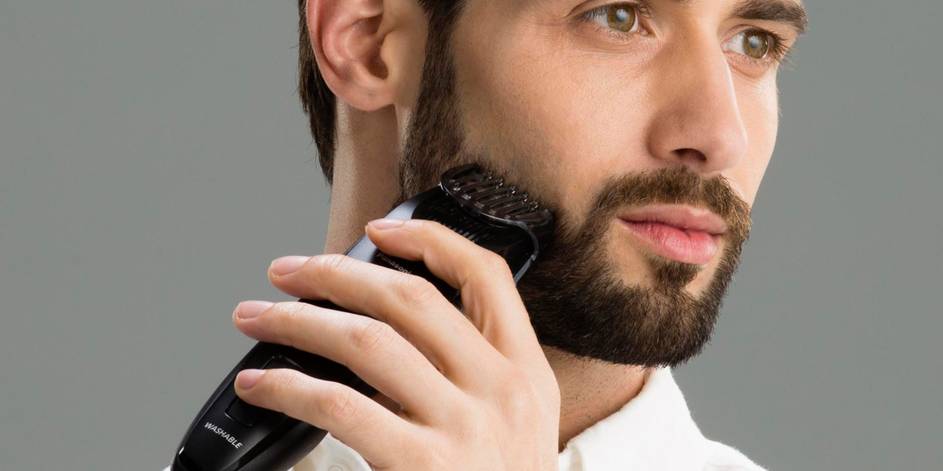
How to Clean Your Hair Clipper
Like any other tool, your hair clippers need to be cleaned and maintained in order to function at their optimal best. Dirty hair clippers may become dull, and won’t cut as well. Even the best hair clippers won’t work properly if they aren’t cleaned. If your trimmer is clogged and the blade is dull, it can lead to razor bumps, itching, redness, rash, and irritation. Dull, dirty blades can also lead to nicks and even infections.
So, before you pull out your clippers for your next trim, take them out and give them a thorough cleaning. If you’ve never given your clippers a good cleanse, here’s what experts say is the best way to clean your clippers.
Remove Hair Buildup
First make sure your clippers aren’t plugged into an outlet. Then, empty the compartment that holds the hair. This is best done directly over the trash can or you’re likely to end up spending more time cleaning the bathroom sink and floor than you did cleaning your clippers. Most of the best hair clippers come with a small cleaning brush, but otherwise a toothbrush or makeup brush works just as well. Use the brush to brush loose hair from the blades and out of the corners of the hair compartment. Then place the clipper head and blades into a sink full of warm water to loosen any leftover hair residue.
Clean and Sterilize Your Clippers
Hold your clippers over the sink and pour a cleaning agent over them. If you don’t have a special cleanser, most clippers can be easily cleaned with a solution of white vinegar and water. Vinegar helps to kill mold and bacteria. If you’ve been experiencing any rash, razor bumps, or itching from your clippers, you should rinse them in 70% Isopropyl rubbing alcohol to disinfect them. After several rinses, you should see hair residue and grime come off the clippers. Keep rinsing until the solution runs clear.
If your blades are very dirty, you can unscrew the clipper head and separate the blades for further cleaning and brushing before reassembling.
Inspect and Oil
Make sure you carefully inspect your comb guides. Combs should be washed clean of any hair oils and grime. If any comb teeth are missing, consider buying replacement combs. Missing or broken comb teeth can really cause a problem during a trimming—and that’s not a time you want something to go wrong. Make sure your comb guides are completely dry before storing them away.
Like anything with moving parts, clipper parts need to be oiled. If you’ve ever felt your hair being tugged or pulled during clipping it could mean that your blades need oiling. Oiling blades will allow them to stay sharp for a longer period, and will make them more resistant to rusting or corroding.
Most of the best hair clippers come with a small bottle of oil for this purpose, but if you are out of oil, or have misplaced it, you can use vegetable oil or olive oil. Add a few drops of oil to your clipper blades while they are running. It’s helpful to do this over the sink. Then turn off your clippers and wipe the excess oil off with a clean, dry cloth.
According to manufacturers, clippers should be rinsed after each use and deep cleaned after two or three uses. If you are using your hair clippers on more than one person, they should be cleaned after each use.
Cleaning the Inside of Your Clippers
Even the best hair clippers need be taken apart occasionally for cleaning inside the mechanism. The clipper housing should be unscrewed and any hair or grime around the motor should be carefully brushed off. If there is excess oil, it should be wiped away. Any hair residue or dirt in the small parts can be cleaned with a Q-tip dipped in alcohol or white vinegar solution.
You’ll definitely see improvements in the way your clippers operate after they’ve been thoroughly cleaned and oiled.
Resources— Conair, GetRazor.com, BarberJungle
About The Author