DIY your floor tile with these tips
Updating things in your home is exciting—you get a chance to breathe new, fresh life into your space. However, tackling big projects can seem daunting, and tiling a floor can seem particularly frightening. With the proper care, equipment, and procedures, anyone can tile a floor in his or her home with ease.
How Do I Choose a Tile Type for My Floor?
There are many factors that go into choosing the best tile for your space. You want to consider the kind of room you’re going to tile, what color scheme you’re going to follow, and what your budget will be for completing the project.
For example, you want to choose a tile that will be functional in the area you’ll be installing it. Textured tiles are a good choice for bathrooms--the added grip can make potential puddles and wet spots on the floor less slippery and much safer. High-traffic areas like foyers, hallways, and dens may benefit from smoother tiles that are easier to sweep and mop.
It is also best to choose a tile type that fits your budget. Standard ceramic tiles can be an attractive option with an affordable price tag--some ceramic styles will ring in as low as $1.00 per square foot. Other tile types, such as marble or natural cut stone, add a touch of elegance for a higher price. Some varieties of marble tile can run as high as $50.00 per square foot.
How Do I Prepare My Floor for New Tile?
The first step involves removing any old tile (or other previous flooring) from the work space. If you are tiling a bathroom and decide to take the toilet out before you begin to work, it is important to block the sewer pipe with a rag or cloth to keep sewer gases from seeping into your bathroom. You should still make the workspace as ventilated as possible — tiling a floor involves a lot of dust accumulation. Safety gear such as goggles and masks is also recommended.
After removing the flooring, use a chisel to work away any old thinset from the previous tiles. At this point, you will be able to determine what kind of subfloor you have. You may also need to make some repairs to your subfloor before you begin installing new tile.
How Do I Install the New Tile?
Once your floors are stripped and prepped, it’s time to begin the process of adding new tile. Before any tile goes on the floor, you will need to install sheets of tile membrane first. Tile membrane is a material that allows for some expansion under the tile while also protecting the subfloor from any damages. As you measure your tile membrane close to any doors, it is important to take a piece of the tile and place it on top of the tile membrane where it will meet the door jambs. You want to ensure there will be enough space to comfortably open and close the doors with the membrane and tile properly installed.
Once the tile membrane has been measured and cut, you will need to mix your thinset mortar. The type of mortar you need depends on the type of subfloor you have. For example, if you have concrete subfloors, you will use an unmodified mortar. Check with your local home improvement store to ensure you’re choosing the correct mortar.
Next, you will apply the mortar to the subfloor using the flat end of a tile trowel. Be careful to avoid circular or swirling motions in the mortar. After the mortar is laid, you will press the cut sections of tile membrane into it using a wood float. You can peel back the edge of a section to ensure it is properly sticking to the mortar.
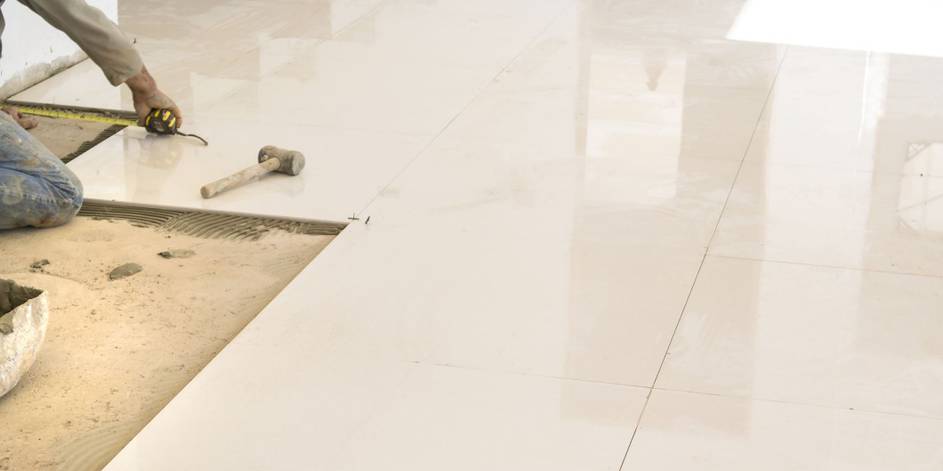
After your tile membrane is laid, you are ready to mark off sections of the floor for the new tile. If you are working in a large room, you may want to break up the space into equal sections to make the job more manageable. Chalk is a good tool to use when measuring and marking sections. Once you have everything measured, you are finally ready to begin laying down tiles into the adhesive on the tile membrane sheets.
As you lay the tiles, you will insert small spacers between them. After about a day, the spacers can be removed so grout can be filled in between each of the tiles. You should prepare grout mixes with time in mind — make what you need for about a half hour’s worth of work and mix more when you run out to avoid wasting any by letting it get too dry. Once the grouting is complete, you can add a grout sealer and enjoy your new, finished tile floor!
Resources — Build Direct, ImproveNet, Lowes, DIY Network
About The Author