What you need to do before you stain your deck
Staining a deck can have many benefits, including improving the overall appearance of the deck and your outdoor space and helping to reduce the likelihood of rot, moisture retention, and even insect infestation. Whether you’re looking for a way to spruce up an old deck, or give the full-treatment to a recently constructed porch area, choosing the best deck stain is a smart way to keep your outdoor area protected and looking good.
However, before you stain a deck, you have to prep it. Here are some simple steps to help you prepare for your deck staining, from giving the deck a good clean to sanding away any leftover residue.
1. Sweep Your Deck
The first step in preparing to stain your deck may sound like a simple one, but that doesn’t stop it from being imperative. Give your deck a good sweep to get rid of any loose debris, dirt, and leaves. You’ll want to remove any furniture that’s on your deck before doing this to ensure that you get the best sweep possible. Leftover debris can get in the way of a smooth stain, and the cleaner your deck is, the easier the staining process will be.
2. Clean Your Deck
Once you’ve swept your deck, you’ll want to continue the cleaning process by wetting it and applying a deck-safe soap. Use a brush to loosen dirt and give the deck a solid scrubbing to get to any leftover debris the sweeping may have missed, or make the job easier with a pressure washer. Once you’ve finished scrubbing, spray your deck with water to remove all soap residue before you start staining your deck.
3. Sand Your Deck
Once your deck has dried completely, use a sander to lightly smooth out any areas of the deck that have remaining residue or are simply uneven. You want a smooth surface when staining, and by sanding your deck ahead of time, you can achieve it. Additionally, you never want to sand a deck after you’ve stained it because it could harm the stain seal that is on the wood.
4. Collect Your Brushes
When staining a deck, synthetic brushes are ideal. This is because synthetic brushes work well with water-based stains, while natural brushes end up losing their rigidity and going limp as they collect the water in the finish. Why make the job harder on yourself? Find a few synthetic brushes to use before beginning the process of staining your deck.
5. Pick Out Your Stain
When it comes to stain, there’s a variety of products. You’ll probably want to take a look at a range of stains before deciding on one for your wood deck. From clear stains and semi-transparent stains to solid stains and specialty stains, make sure you do you research to find out which one is best for your deck, your climate, and the aesthetic that you’re going for. Remember, you’ll want to use a different kind of stain if you’re staining bare wood than you would if you’re re-staining or staining over a previously stained deck.
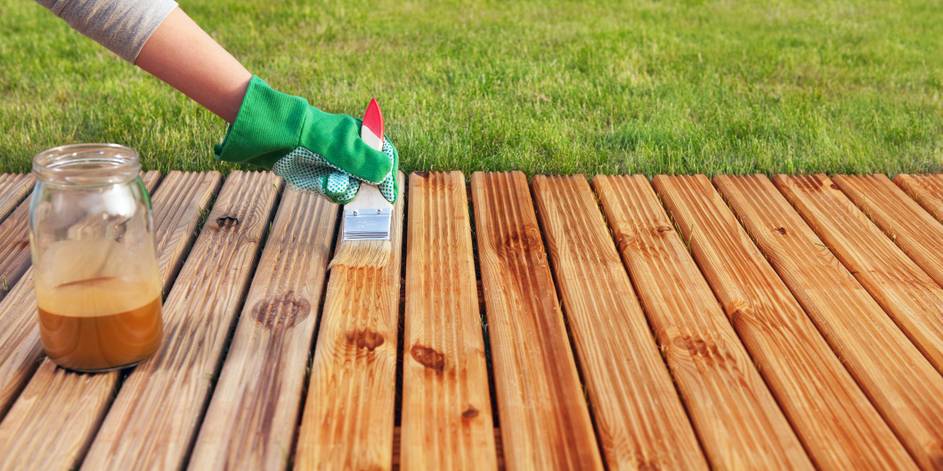
6. Apply Thin Coats of Stain
Once you’re ready to start the actual staining process of your project, remember that stain should be applied in thin coats. This tip is pivotal, as too much stain can quickly lead to puddles that won’t dry evenly and can even flake off later down the line.
7. Apply Multiple Coats
To ensure a uniform stain, always apply multiple coats of stain. You’ll want to stain the entire deck first before beginning on the second coat to ensure an even finish. Once you’ve finished layering on a second coat of stain, keep your deck entirely clear of people and objects while it dries.
Pro Tip
Always be sure to read the directions on your stain before beginning the staining process. While most stains work in similar ways and have nearly identical directions, some specialty stains may require a different preparation process or application process.
Additionally, a stain’s instructions might also tell you how many coats you need to apply to achieve the color that you’re going for. While you might feel confident in staining your deck without reading the stain’s instructions, they can actually prove to be a major timesaver in the way of preventing you from unforeseen issues during the actual staining process.
Resources— Nearsay, Sherwin-Williams, Consumer Reports, Do It Yourself, Saver Systems
About The Author