Makeup Removal: A How-To Guide
Did you know that leaving your makeup on when you go to sleep at night is a major cause of breakouts? Yeah. The sweat and oil that builds up on your skin overnight can mix with that leftover makeup, clogging your pores and creating zits. Leaving mascara on can also stunt your lash growth, drying them out and causing them to break off easily.
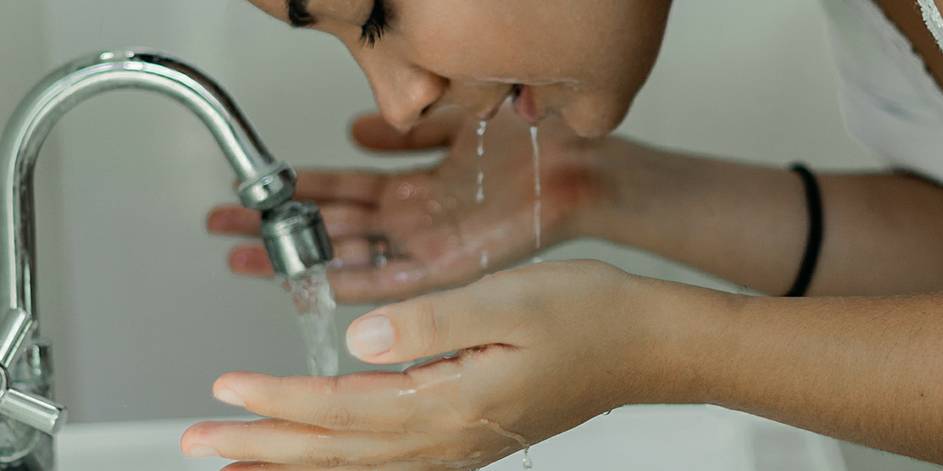
Simply washing your face at night won’t cut it either because facial cleanser doesn’t remove makeup completely. Have you ever washed your face and then used a toner and looked at the cotton pad? DIRTY. And it’s not just makeup that is dirtying your skin. By the end of the day, your skin is coated in makeup, dirt and oil, and even pollution.
So what is the proper way to remove your makeup and ensure that your skin is as clean as possible when you go to hit the sack?
Step 1: Start with your eyes
The dark, thick product that gathers from mascara and eyeliner is difficult to remove, especially if you use waterproof makeup. Oil-based removers are great for the eyes because they are gentle and do a great job getting the makeup off. They also work great for long-wear lipsticks.
It’s important to be as gentle as possible since the skin around your eyes is delicate and sensitive. I would avoid wipes and cotton pads on the eye area and instead use your fingers. If you do have to use wipes, or pre-soaked pads then hold them over your eye for a bit to let the remover soak in, then wipe the product away.
Take your time
Apply the remover and let it sit while you floss and brush. It will allow the heavy mascara and liner to soften and slip off easily once you wipe it away. The longer it sits, the less you will have to scrub and wipe at your eyes, causing irritation and wrinkles. This also helps to prevent the racoon eyes in the morning from makeup remnants that you didn’t get.
Step 2: Cleanse
It's often necessary to rinse or wash your face after using a makeup remover. Here's how:
Steam Clean Your Face
Every once in a while, use steam heat before washing your face. It doesn’t need to be done every night, but it’s a great self-care option to help loosen up your pores so that your cleanser penetrates deeper. Fill a bowl with hot water (be careful!) and a drop of lavender or tea tree essential oil. Then hover over the bowl for a minute or two. You can also steam clean your face in the shower before you wash it. If you still want those spa vibes, spray some essential oils into the shower while it is steaming.
Once you are ready to wash your face, choose a cleanser that is right for your skin. You can even use a cleanser that aids in makeup removal. Rinse your skin with warm water to help open up the pores. Apply the cleanser in circular motions all over your face and neck. Make sure you are cleaning all the way up into your hairline, where makeup accumulates. Leave the cleanser on for about 15-20 seconds and then rinse it off with cool water.
Step 3: Tone the skin
I like to use toner after cleansing my skin to make sure there is no lingering makeup or dirt. Just add a few drops to a cotton pad and gently wipe it over your skin, paying extra attention to the areas where product can collect like your T-zone and the sides of your nose.
Step 4: Moisturize
Makeup removal and cleansing should always be followed up with moisture, even if you don’t necessarily have dry skin. That means moisturizing your skin, eyes, and lips. If you leave your skin damp while you apply moisturizer it will help to lock in even more hydration.
Bedtime: how to get your face ready for nighttime
Now that your makeup has been removed and your skin thoroughly cleansed and moisturized, you can sleep easy. In the morning, you’ll be ready to go hop into your routine. You don’t necessarily have to wash your skin again in the morning. In fact, if you have dry skin you could be stripping your skin of even more moisture by double washing it. Oily skin, on the other hand could use a cleanse in the morning to remove any overnight oil buildup.
Resources— Allure, Glamour, L’oreal, Well+Good
About The Author