Everything you should know about self tanning mitts
Thanks to widespread awareness of the dangers of sunbathing to achieve a gorgeous tan, the self-tanning industry has worked tirelessly to improve the formulas, textures, scents, and longevity of sunless tanners. However, no matter how well a sunless tanner is formulated, it only works as well as its application allows.
Have you ever gone to great lengths to apply a sunless tanner, taking the time to smooth it in as evenly and thoroughly as you can, only to watch in horror as your tan develops in uneven streaks? And to make matters worse, you notice your palms and the spaces between your fingers turning an unsightly color?
How do you avoid this tanning disaster so you can go out and face the world with the sun-kissed healthy glow that you were trying to achieve? One way is to try using a self-tanner mitt.
What is a Self-Tanner Mitt?
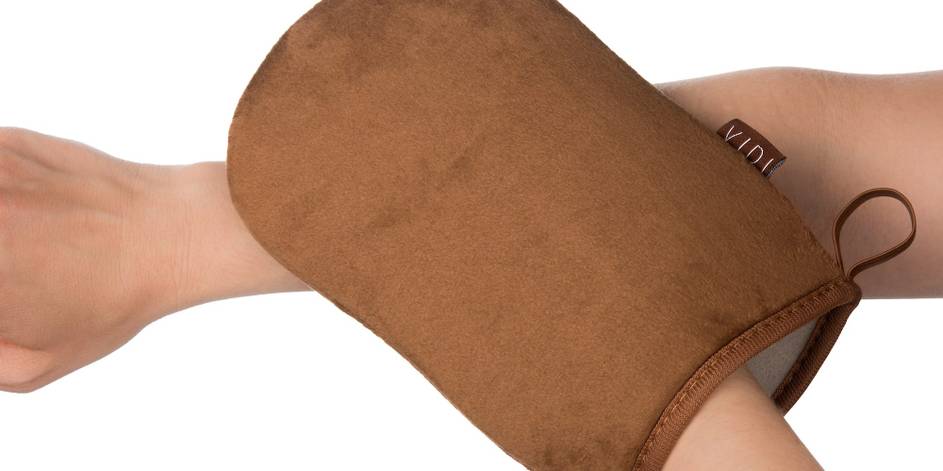
Tanning mitts are designed to both protect the hands from accidentally becoming stained with sunless tanner, and to aid in the smooth and thorough application of self-tanning lotion, cream, and mousse. The original tanning mitts were introduced to accomplish all of these things. Unfortunately, the sponge-like foam texture of those early cosmetic industry tanning mitts sucked up more of the product than they applied. Those mitts have since been replaced by mitts with a smoother, more velvety texture.
Today’s self-tanning mitts are primarily designed like a single large mitten with a place separating the thumb from the other four digits. Some are designed more like large gloves with finger spaces for all five fingers.
Self-tanning mitts are inexpensive and washable, able to be used many times before they need replacing. Make sure your mitt is completely dry before using it to apply your self-tanner.
How to Use a Self-Tanner Mitt
To use a self-tanner mitt you simply place it on your hand, apply the product to the mitt and glide it along your skin. You can also choose to dot the tanning product directly onto your legs, or other parts to be tanned, and then use the mitt to smooth it over your skin. Don’t rub the tanning lotion into your skin, instead, glide it on in a light, circular motion.
Showering, shaving and moisturizing should be done the day before applying your self-tanner. This will better prepare your skin to allow the smooth gliding effect of the mitt applicator to prevent streaking and splotches during the tanning process.
Because the tanning mitt gives your hand a wider surface area, you can apply your tanning product more quickly than can be done by using your bare hands. The texture of the mitt also helps to promote a much smoother application than the rough texture of your palms would. This helps to spread the product evenly and prevents streaking and blotchiness.
Self-tanning mitts can also be used the day before tanning to scrub off dead skin cells with a good exfoliating scrub. Just be sure to wash your mitt in between use as an exfoliator and use as a self- tan applicator. It wouldn’t be particularly helpful to end up exfoliating while you are applying your sunless tanner.
Maintaining Your Tanning Mitt
Tanning mitts are reusable and should last through several applications if well-maintained. Mitts can be machine washed, but hand-washing and hanging them to dry will allow them to last longer without becoming misshapen, shrunken or torn.
Be sure to wash your tanning mitt after every use to prevent the tanning product from building up on the glove. Old, crusted self-tanner can cake up on the glove and defeat the smooth-gliding purpose of a tanning mitt.
Don’t be alarmed if your tanning mitt turns green. Although it might seem strange, self-tanning products use a green base in order to mitigate the properties that can cause too much orange in your tanning results.
Tanning Mitts are available in most drugstores, or anywhere that self-tanning products are sold.
Resources — MineTan, Sienna, Dermstore, BeachBaby
About The Author